Get started with Duino-Coin
We've prepared an interactive tool to make sure anyone can easily start mining on their device. Get yourself a cup of coffee and start your adventure with our coin!
Before we start... 🤔
Do you have a Duino-Coin account?
You can login here with your account to speed up the configration of some mining softwares.
If you're new in Duino, please register on the network and return once you're done. Trust us - creating a wallet should take you less than 3 minutes!

Connect your account for convenience
Welcome, Duino user👋
What are you planning to mine with?
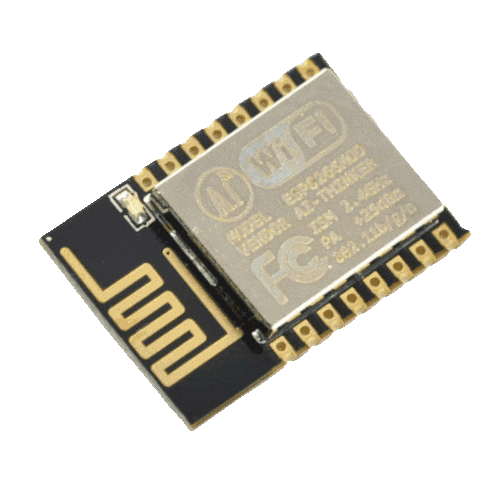
ESP8266
NodeMCU, Wemos, ESP01 modules, etc. Recommended
ESP32
ESP-WROOM, DevKit, S-series, C-series, etc. Recommended
More tutorials will be coming soon!
While we only offer step-by-step tutorials for the most popular configurations, the amount of devices that you can mine Duino-Coin on is much larger. See the benchmarks section and community-made softwares on our GitHub.
Dual-core power!
The ESP32 is a dual core wireless development board capable of efficiently mining Duino-Coin. The guide below should help get you started with achieving setting up Arduino IDE and uploading the DUCO miner code to your board.
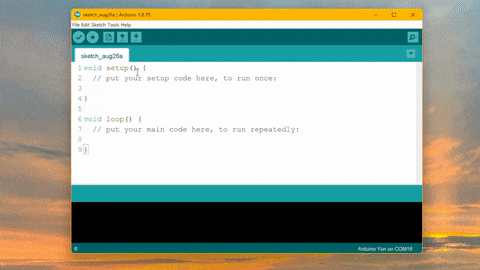
1 First up, let's install Arduino IDE. Using this program we can upload codes to many types of microcontrollers, including the ESP32. You can use the button below or visit Arduino.cc yourself.
Please install the software by following the installer instructions and continue to the next step.
2
Add ESP32 support to Arduino IDE. To do that, firstly open the program, click File on the top, then Preferences and paste the following in the Additional Boards Manager URLs field:
https://raw.githubusercontent.com/espressif/arduino-esp32/gh-pages/package_esp32_index.json
Save changes by clicking OK once you're done.
3 Install ESP32 support for Arduino IDE. Click Tools on the top of the program, hover on the Board: XXX field and open the Boards Manager... window.
In the search box type esp32 - a package by Espressif Systems should come up. Install the newest version.
When the package finishes installing you can click the Close button.

4 Install ArduinoJson library. Click Sketch on the top of the program, hover on the Include Library field and click the Manage Libraries... entry.
In the search box type ArduinoJson - a package by Benoit Blanchon should come up. Install the newest version.
When the library finishes installing you can click the Close button.
5
Important information for dual-core ESP32 users:
If you own a dual core ESP32 board (ESP32-Wroom, -Wrover, etc.), you may get an error during compilation related to TridentTD_EasyFreeRTOS32 missing. To fix this, please follow these steps:
Click Sketch on the top of the program, hover on the Include Library field and click the Manage Libraries... entry.
In the search box type TridentTD_EasyFreeRTOS32 - a package by TridentTD should come up. Install the newest version.
When the library finishes installing you can click the Close button.
6 Prepare your Duino-Coin miner code. Below are fields that you should fill in. They will change required variables in the code so you don't have to do it manually (and possibly mess something up).
Below you can find a button to download a .zip file containing your customized code from the input fields above.
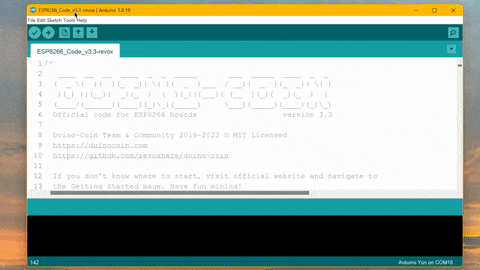
Download the .zip and extract the folder to your desktop. Double click on the ESP_Code.ino to launch it with Arduino IDE.
If it doesn't open automatically, in IDE click File, then Open and navigate to the folder you just downloaded.
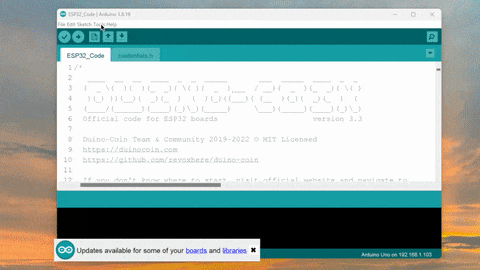
At the top of Arduino IDE you should see all 6 files. If you see only one, you did not extract the .zip file correctly. Make sure all files are in the same folder.
7
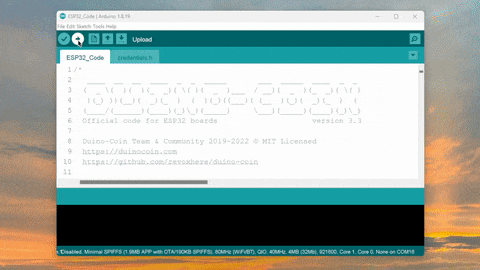
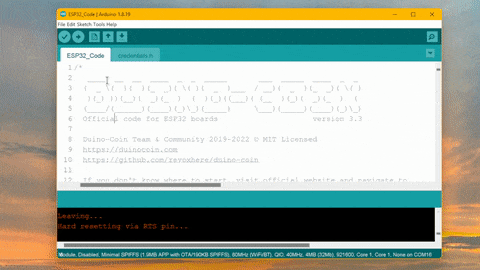
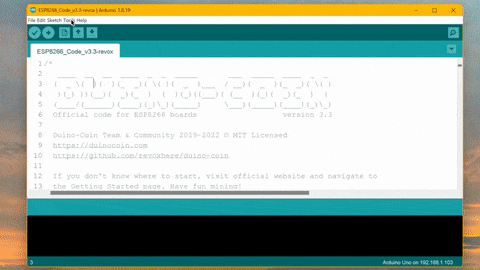
Upload miner code to your board.
Make sure to plug in the board to your computer using a USB cable, choose ESP32 Dev board in the Tools Board ESP32 Arduino dropdown and select a COM port in Tools Port list. No need to change anything else - just click the "" upload button and wait until it finishes.
7
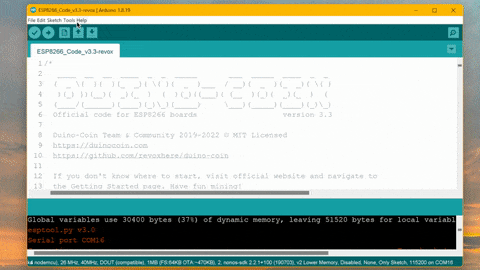
Verify the miner working in serial monitor.
When the code finishes uploading, you can always check what the ESP is doing by opening the serial monitor. You can use the key combination Ctrl + Shift + M to bring it up, or click on Tools Serial Monitor.
Then make sure to use 500000 baud or you won't see anything.
If everything's correct, you should see some messages coming up. If something's wrong, the ESP will spit out a corresponding message.
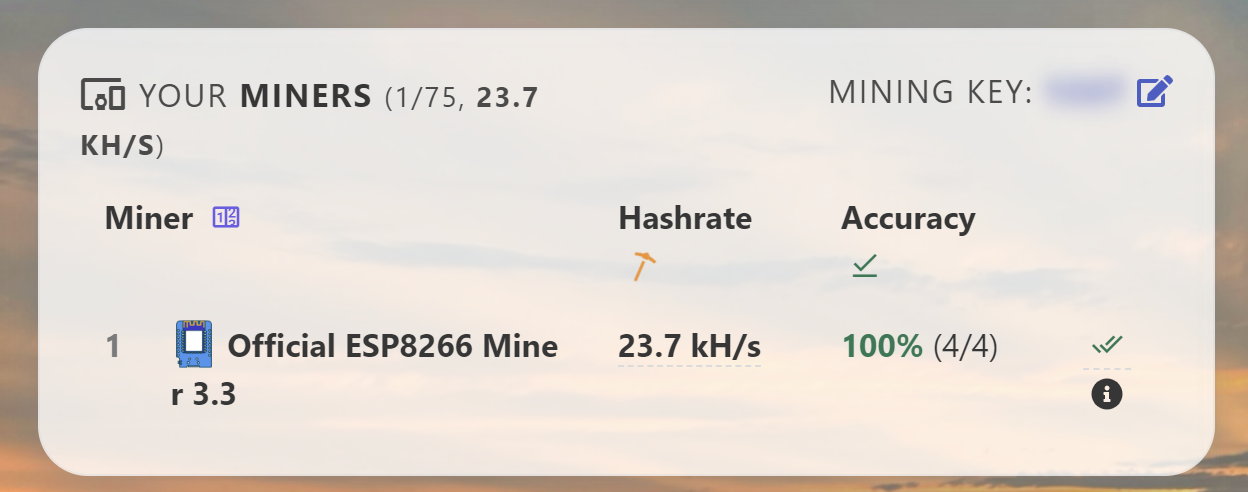
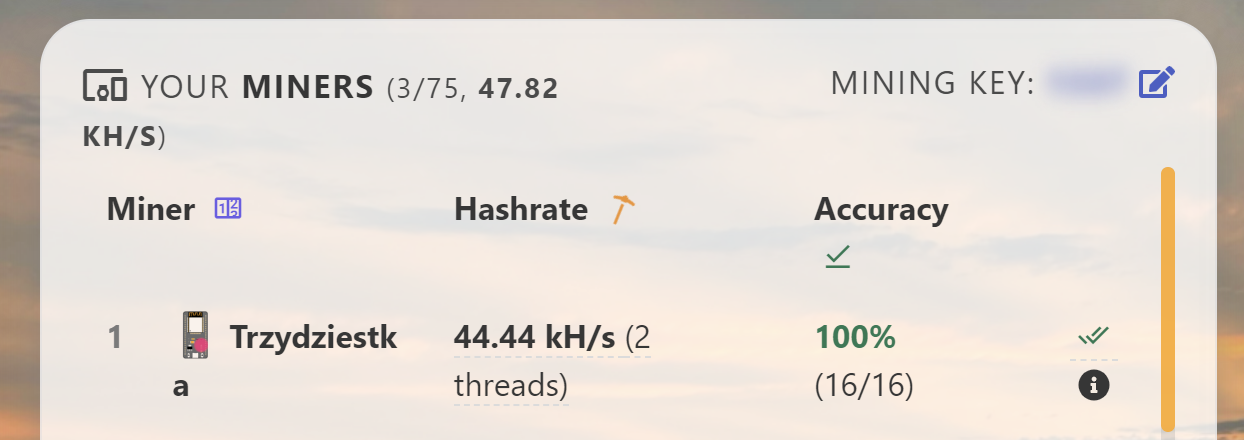
You can inspect your miner remotely in the wallet. It should display your miner in the Your miners section.
Further reading and activities
You can use the Back button below to return to the device selection menu.
Wireless mining for the win!
The ESP8266 is a wireless development board capable of efficiently mining Duino-Coin. The guide below should help get you started with achieving setting up Arduino IDE and uploading the DUCO miner code to your board.
1 First up, let's install Arduino IDE. Using this program we can upload codes to many types of microcontrollers, including the ESP8266. You can use the button below or visit Arduino.cc yourself. We do not recommend using Arduino IDE 2.0+ - you may face problems.
Please install the software by following the installer instructions and continue to the next step.
2
Add ESP8266 support to Arduino IDE. To do that, firstly open the program, click File on the top, then Preferences and paste the following in the Additional Boards Manager URLs field:
http://arduino.esp8266.com/stable/package_esp8266com_index.json
Save changes by clicking OK once you're done.
3 Install ESP8266 support for Arduino IDE. Click Tools on the top of the program, hover on the Board: XXX field and open the Boards Manager... window.
In the search box type esp8266 - a package by ESP8266 Community should come up - select the newest version and click the Install button to (obviously) install it.
When the package finishes installing you can click the Close button.
4 Install ArduinoJson library. Click Sketch on the top of the program, hover on the Include Library field and click the Manage Libraries... entry.
In the search box type ArduinoJson - a package by Benoit Blanchon should come up. Install the newest version.
When the library finishes installing you can click the Close button.
5 Prepare your Duino-Coin miner code. Below are fields that you should fill in. They will change required variables in the code so you don't have to do it manually (and possibly mess something up).
Below you can find a button to download a .zip containing your customized code from the input fields above.
Download the .zip and extract the folder to your desktop. Double click on the ESP_Code.ino to launch it with Arduino IDE.
If it doesn't open automatically, in IDE click File, then Open and navigate to the folder you just downloaded.
At the top of Arduino IDE you should see all 6 files. If you see only one, you did not extract the .zip file correctly. Make sure all files are in the same folder.
6
Upload miner code to your board.
Make sure to plug in the board to your computer using a USB cable, choose Generic ESP8266 Module in the Tools Board ESP8266 Boards dropdown and select a COM port in Tools Port list. No need to change anything else - just click the "" upload button and wait until it finishes.
7
Verify the miner working in serial monitor.
When the code finishes uploading, you can always check what the ESP is doing by opening the serial monitor. You can use the key combination Ctrl + Shift + M to bring it up, or click on Tools Serial Monitor.
Then make sure to use 500000 baud or you won't see anything.
If everything's correct, you should see some messages coming up. If something's wrong, the ESP will spit out a corresponding message.
You can inspect your miner remotely in the wallet. It should display your miner in the Your miners section.
Further reading and activities
You can use the Back button below to return to the device selection menu.